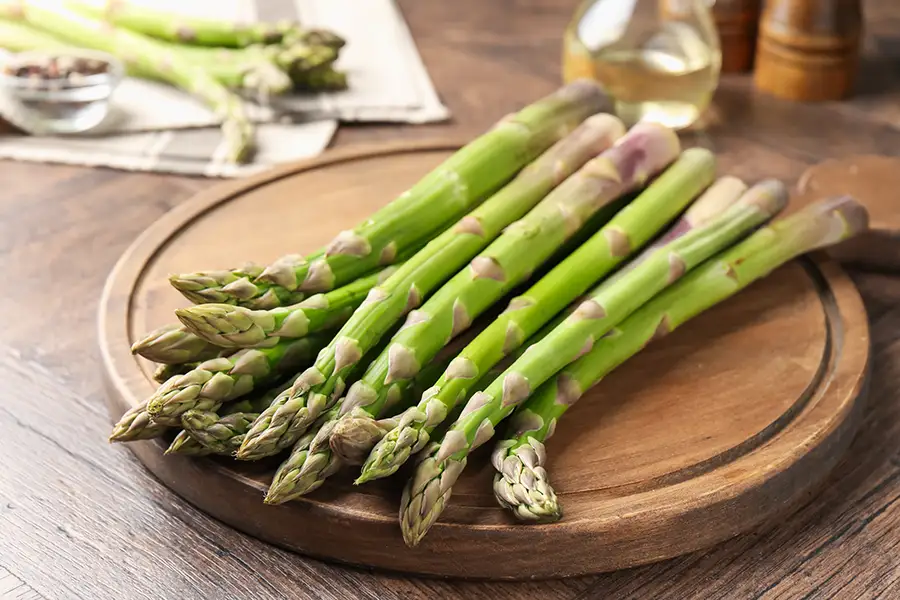

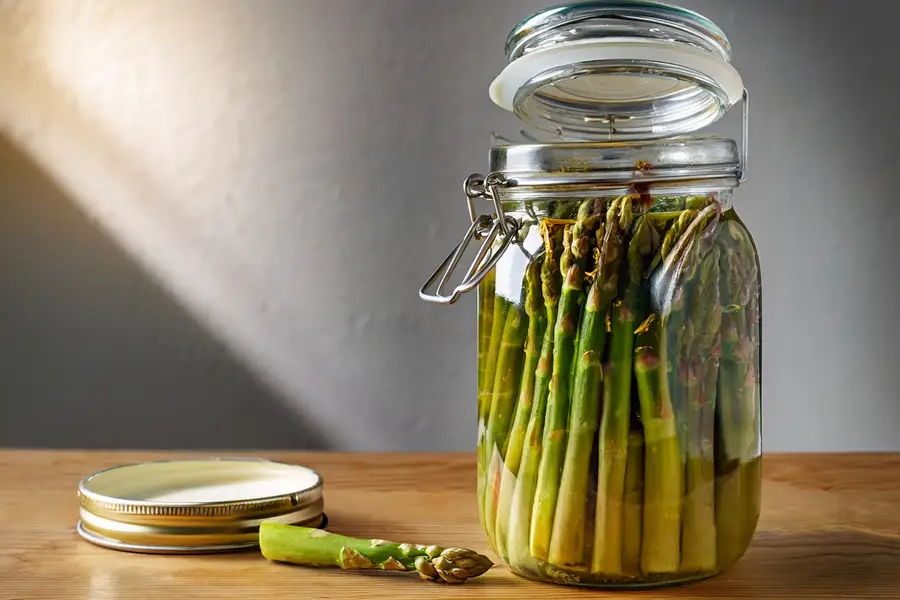
Fermented asparagus is a delicious and nutritious way to preserve this springtime vegetable while enhancing its flavors. The process of fermentation not only extends the shelf life of asparagus but also boosts its probiotic content, promoting a healthy gut. For those new to fermentation, making fermented asparagus can be an excellent introduction due to its straightforward process and rewarding results.
In this guide, we will walk you through the steps of fermenting asparagus, ensuring you understand the reasons behind each step. From why you should ferment asparagus to the equipment you’ll need, and how to use and maintain your fermented creation, you’ll find everything you need to enjoy this flavorful treat.
Why make fermented asparagus?
Fermenting asparagus, like other vegetables, enhances its nutritional profile by introducing probiotics, beneficial bacteria that aid digestion. Asparagus is already a healthy choice due to its high fiber and vitamin content. When fermented, these nutrients are not only preserved but become more easily digestible.
Moreover, fermented asparagus offers a vibrant, tangy flavor that can transform any dish. It’s a versatile ingredient that can be added to salads, sandwiches, or simply eaten as a snack. Additionally, home-fermented asparagus is free from preservatives and other additives often found in commercially pickled products.
If you’re looking to explore new flavors and improve your gut health, fermenting asparagus is a simple and rewarding process that can be completed in just a few days.
Ingredients
To ferment asparagus, you will need approximately 2 bunches of asparagus (500gr), salt, a few garlic cloves, filtered or bottled water (tap water will do, but sometimes it’s better to avoid the chlorine that can hinder the microorganisms), and herbs or spices to your taste.
These ingredients will create a flavorful brine that not only preserves the asparagus but also imparts a delightful tanginess thanks to the garlic, dill, and mustard seeds.
Equipment
Fermenting asparagus requires minimal equipment, most of which you may already have at home:
- Glass jars with lids
- A heavy utensil for smashing garlic
- A measuring cup and spoons
- A knife for trimming the asparagus
Using glass jars is critical, as it lets you observe the fermentation process and ensures no unwanted chemical reactions occur with the brine, which can happen with metal containers.
When is it ready?
After 3-4 days at room temperature, transfer the jars to the refrigerator. This cooler, more stable environment slows down fermentation, allowing flavors to develop further over 5-7 days. The texture should remain crisp, with the flavor evolving into a pleasant tanginess.
Your fermented asparagus is ready when it has a sour aroma and taste that suits your preference, usually after the additional refrigeration time. Always ensure there is no mold or unusual odor before consuming.
How to use
Fermented asparagus can be enjoyed straight from the jar or incorporated into various dishes. Its tangy flavor complements salads, charcuterie boards, and even bloody mary cocktails. It’s an excellent topping for avocado toast or a unique ingredient in pasta dishes.
Experiment by pairing it with different cuisines to utilize its rich, tart notes best. Keep in mind, its fermentation-caused acidity can add depth to even simple meals.
How to maintain
Properly stored in the refrigerator, fermented asparagus can last for several months. Ensure the brine always covers the asparagus to prevent spoilage. Check the jar occasionally to ensure the lid is sealed, though burping is less critical when stored in the refrigerator.
Should you notice any off smell or appearance, it’s best to discard it. Maintaining a clean, air-tight environment is crucial to prevent contamination.
Health benefits
Fermented asparagus consists of wild yeasts and beneficial bacteria that aid in better digestion. They offer digestive health benefits, making them excellent choices for those looking to include probiotics in their diet.
Expert tips
Temperature control is crucial in fermentation. Too high a temperature can speed up the process, which might reduce the asparagus’s crunchiness, while too cold can halt fermentation. An ambient room temperature around 18-24°C is ideal for asparagus fermentation.
Cutting asparagus correctly ensures even brine coverage, so take time when prepping. If your brine level drops due to evaporation, top it up with similarly salted water to avoid mold.
Troubleshooting
– Mushy asparagus: If the asparagus is soft, it might be due to a salt concentration that is too low or a fermentation temperature that is too high. Ensure you ferment in the ideal range of 18-24°C to maintain crispness.
– No fermentation activity: If you don’t see bubbles, the room temperature might be too cold. Give it more time; fermentation can be slow.
– Surface mold or film: Fuzzy, colored mold means you must discard the batch. If you see a white, powdery film (Kahm yeast), skim it off and continue, but be aware it can affect the flavor.
– Asparagus floating: Always keep the asparagus fully submerged under the brine to prevent exposure to air and spoilage. Use a fermentation weight if needed.